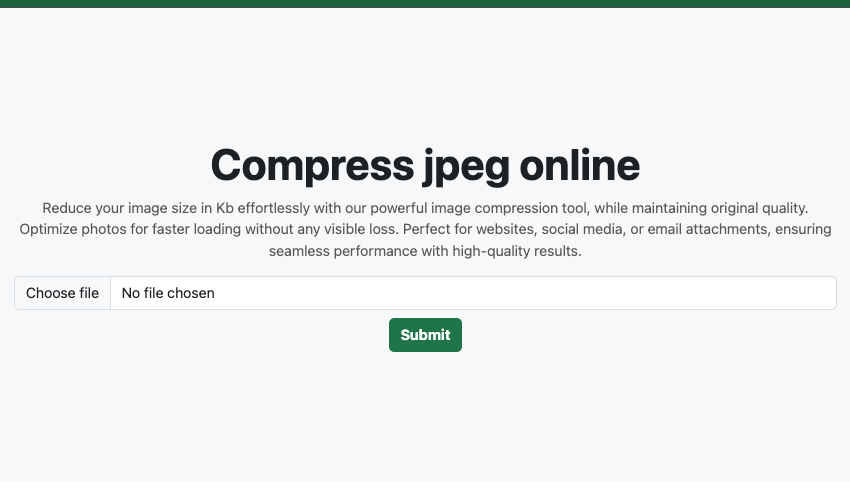
If you’re looking to reduce your images to 20KB without sacrificing quality, you’re in the right place. Let’s dive into how you can easily use an image compressor and answer some frequently asked questions about image compression.
Why Compress Your Images?
Before we get into the how-to, let’s talk about why you should compress your images:
- Faster Loading Times: Compressed images load faster, enhancing user experience.
- SEO Benefits: Search engines favor fast-loading websites, so compressed images can boost your SEO.
- Reduced Bandwidth Usage: Smaller images use less bandwidth, which can save you money if you’re on a data plan.
How to Use an Image Compressor to Reduce Your Images to 20KB
Here’s a step-by-step guide on using an image compressor to reduce your images to 20KB.
Step 1: Choose an Image Compressor
Visit Image-Compress.com. This tool is user-friendly and efficient.
Step 2: Upload Your Image
Click the “Upload” button and select the image you want to compress. You can upload multiple images at once if needed.
Step 3: Adjust Compression Settings
Once your image is uploaded, you’ll see options to adjust the compression level. Aim for a balance between quality and file size.
Step 4: Compress the Image
Hit the “Compress” button. The tool will process your image, reducing its size while maintaining quality.
Step 5: Download Your Compressed Image
After compression, download your image. Check to ensure it’s under 20KB and still looks good.
Tips for Effective Image Compression
- Use the Right Format: JPEG is generally best for photographs, while PNG works well for images with fewer colors or transparency.
- Resize Before Compressing: If your image is very large, resize it to the desired dimensions before compressing.
- Check Image Quality: Always preview the compressed image to make sure it still looks acceptable.
